Riding Dreams Begin Here
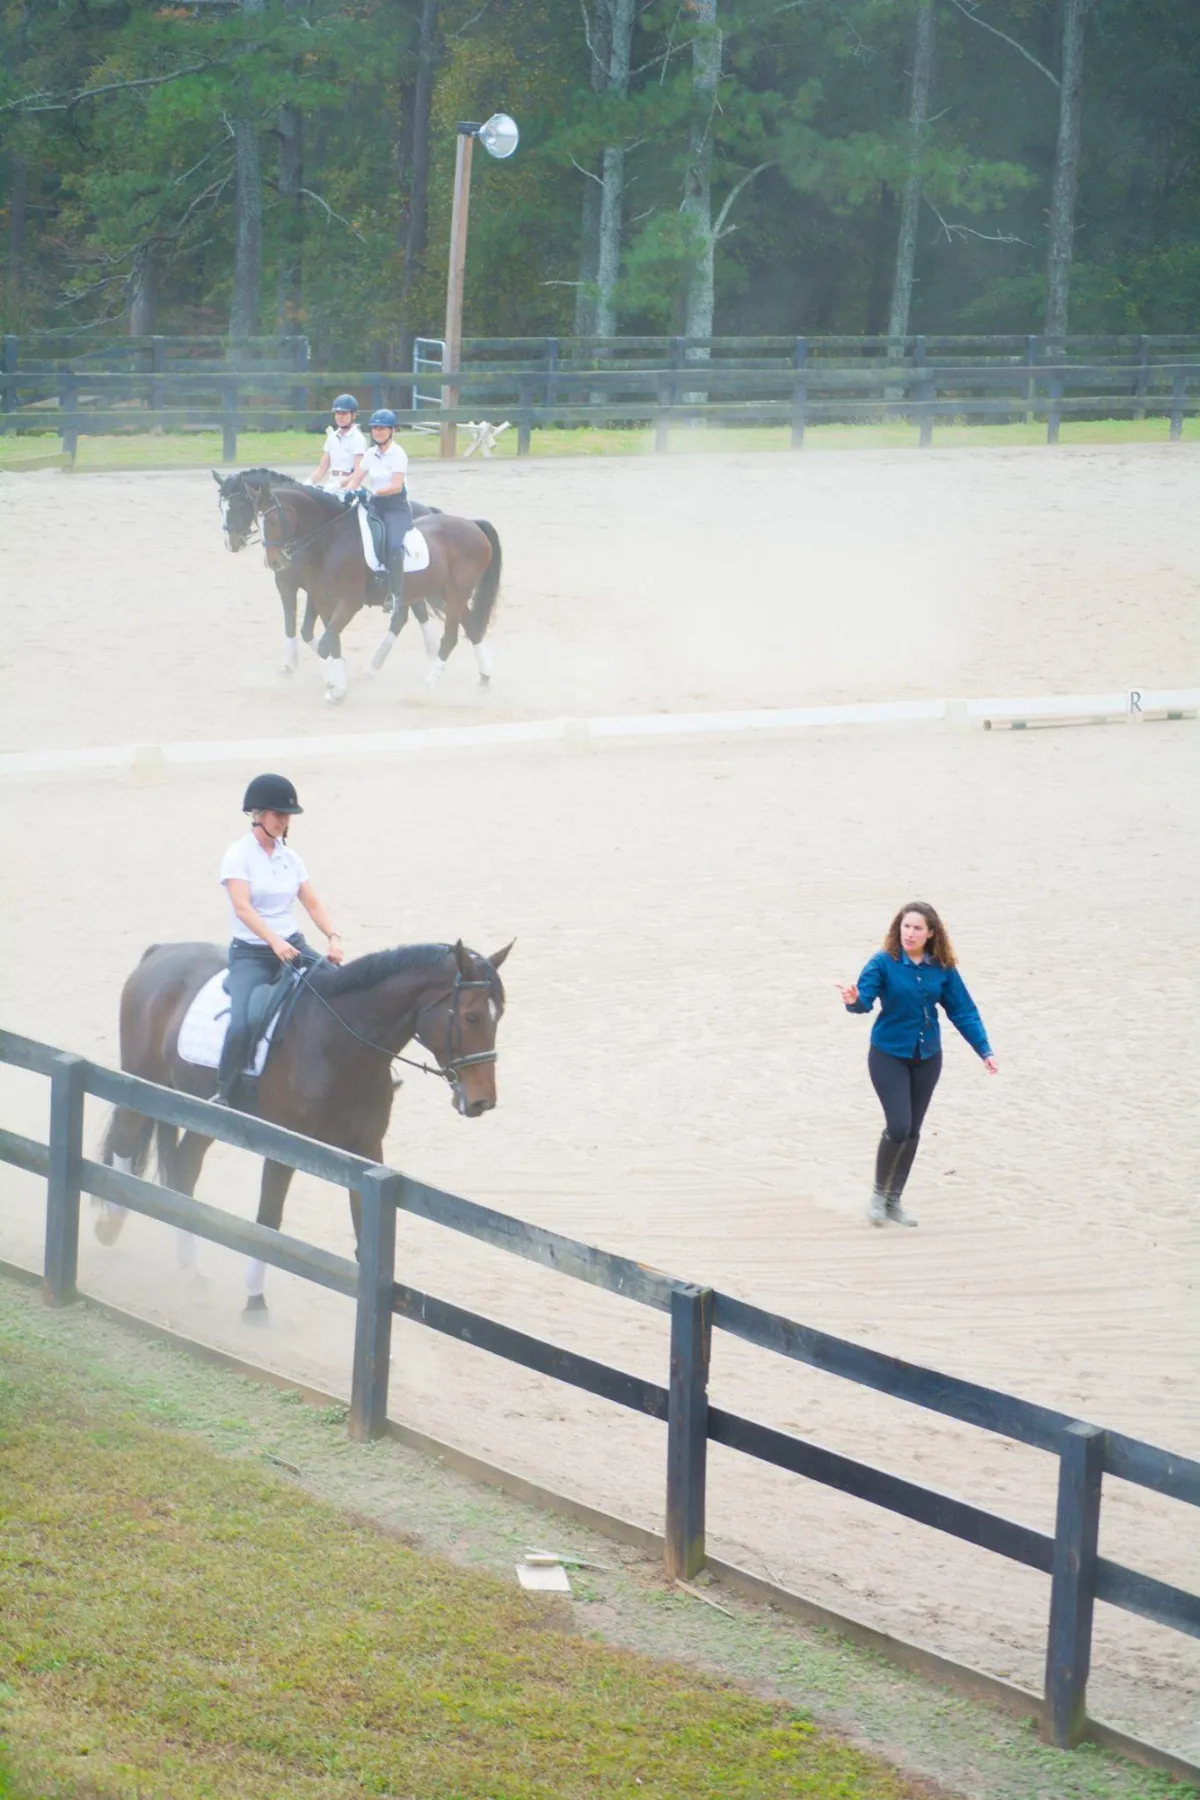
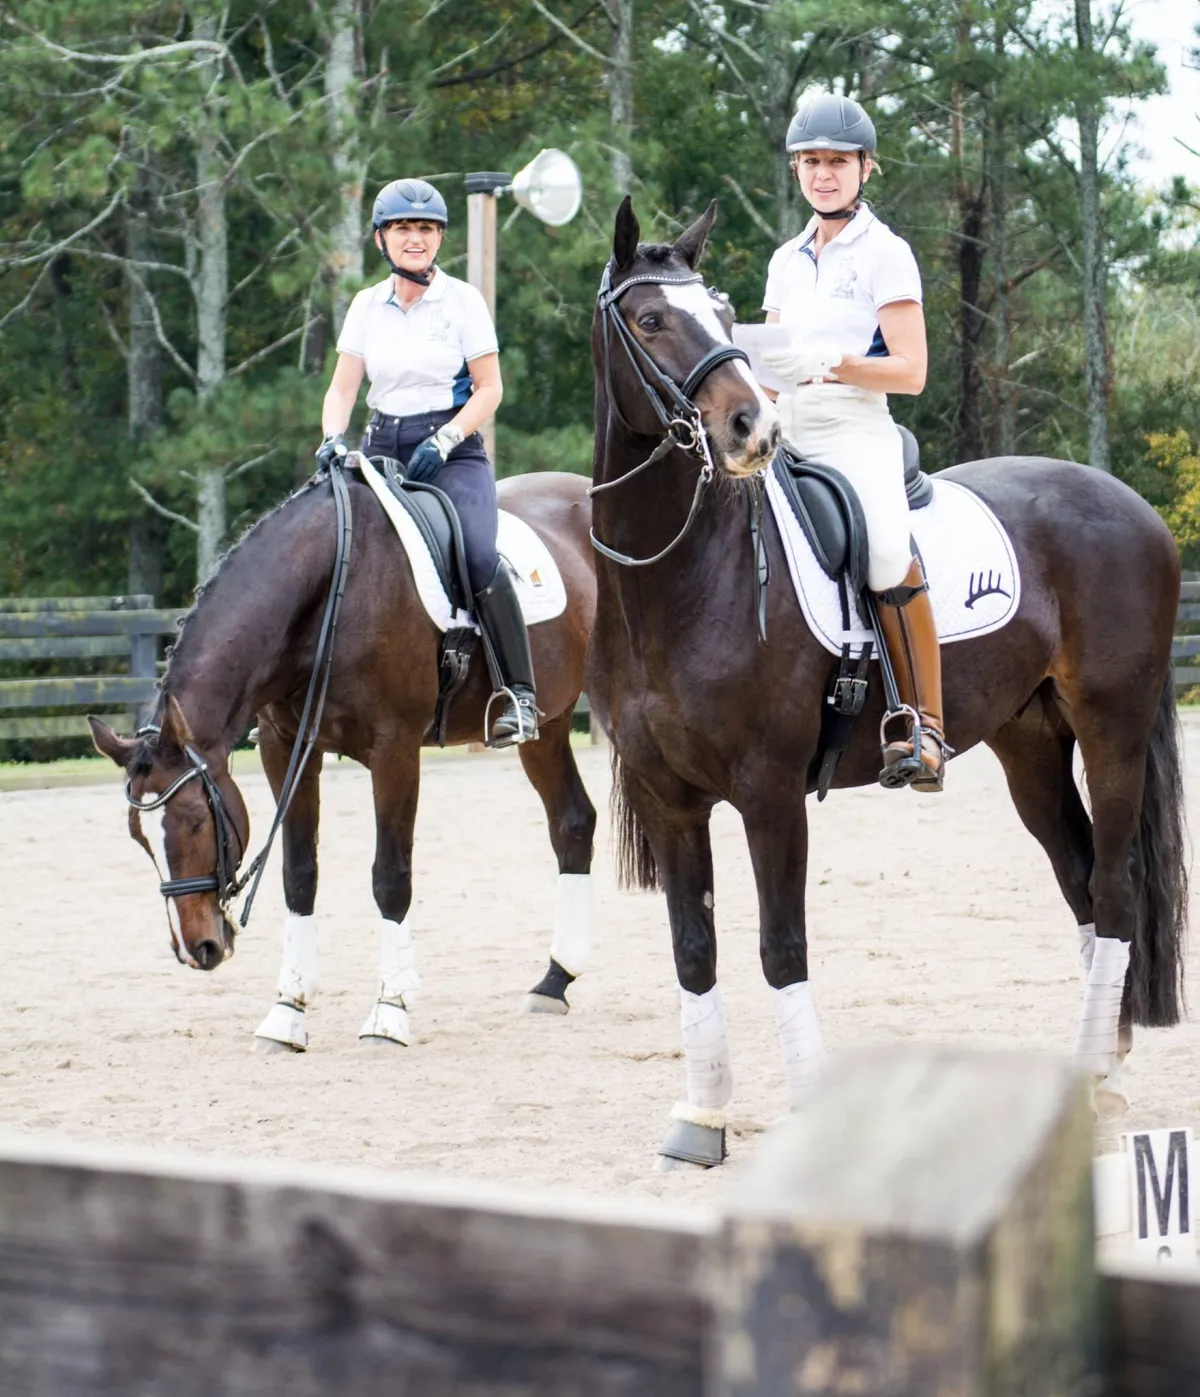
Welcome to Revelation Farm
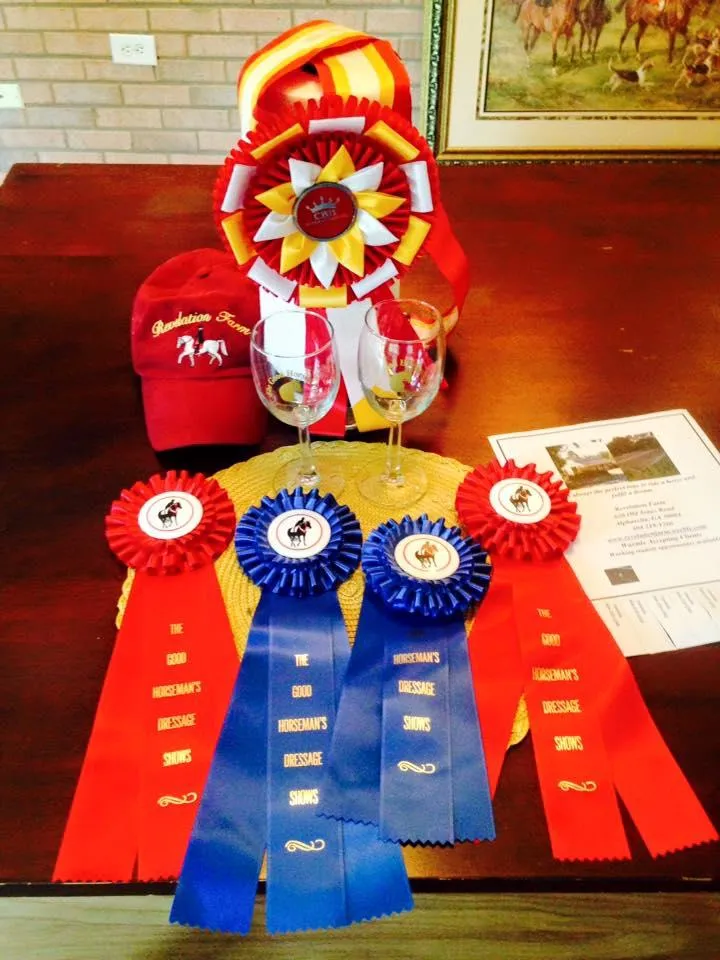
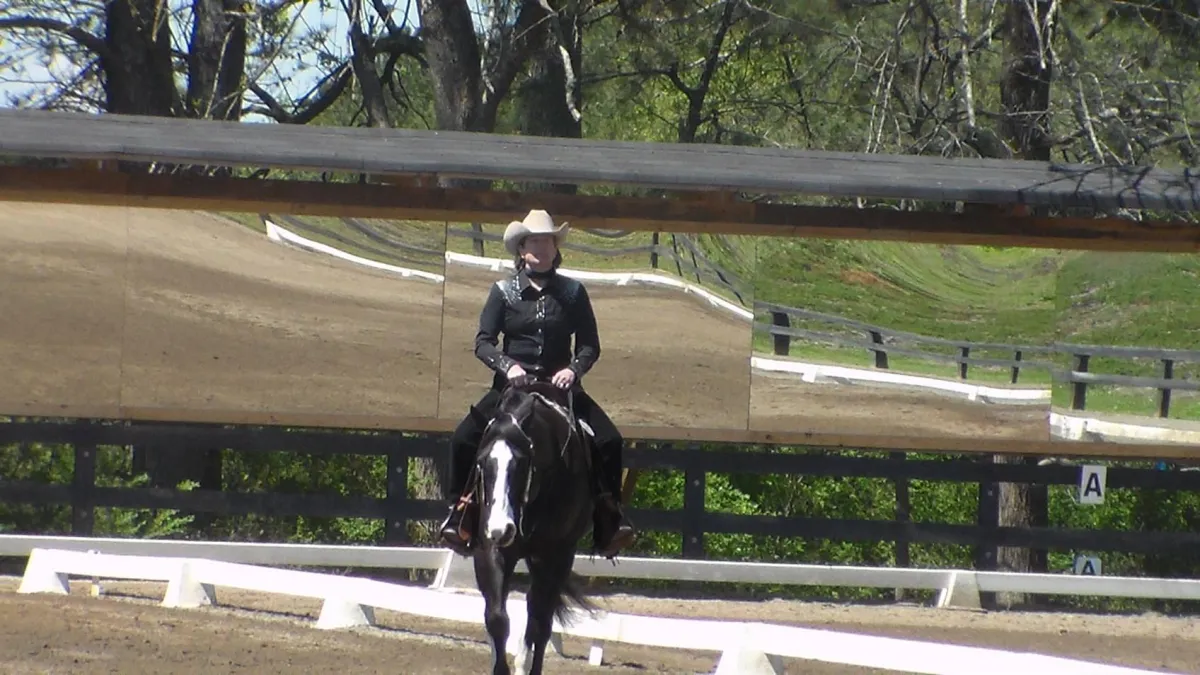
Dressage | Western Dressage | Equitation | Hunter Pleasure
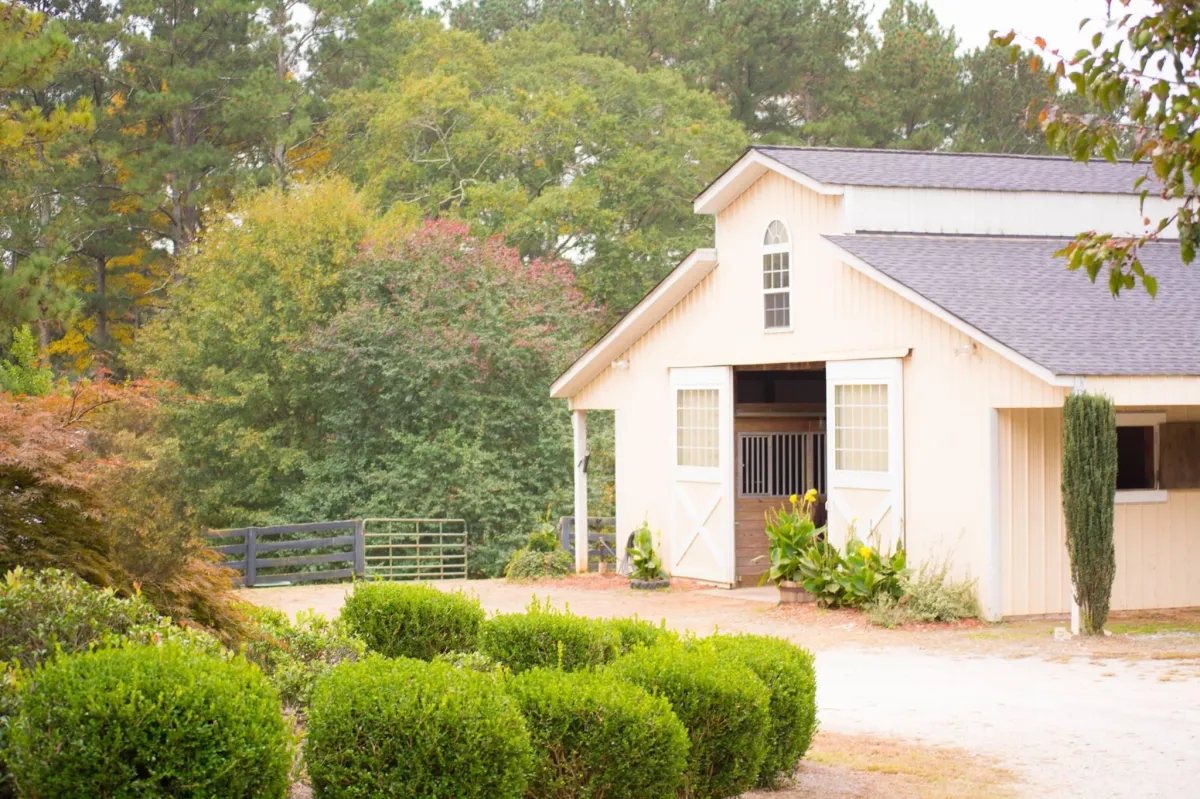
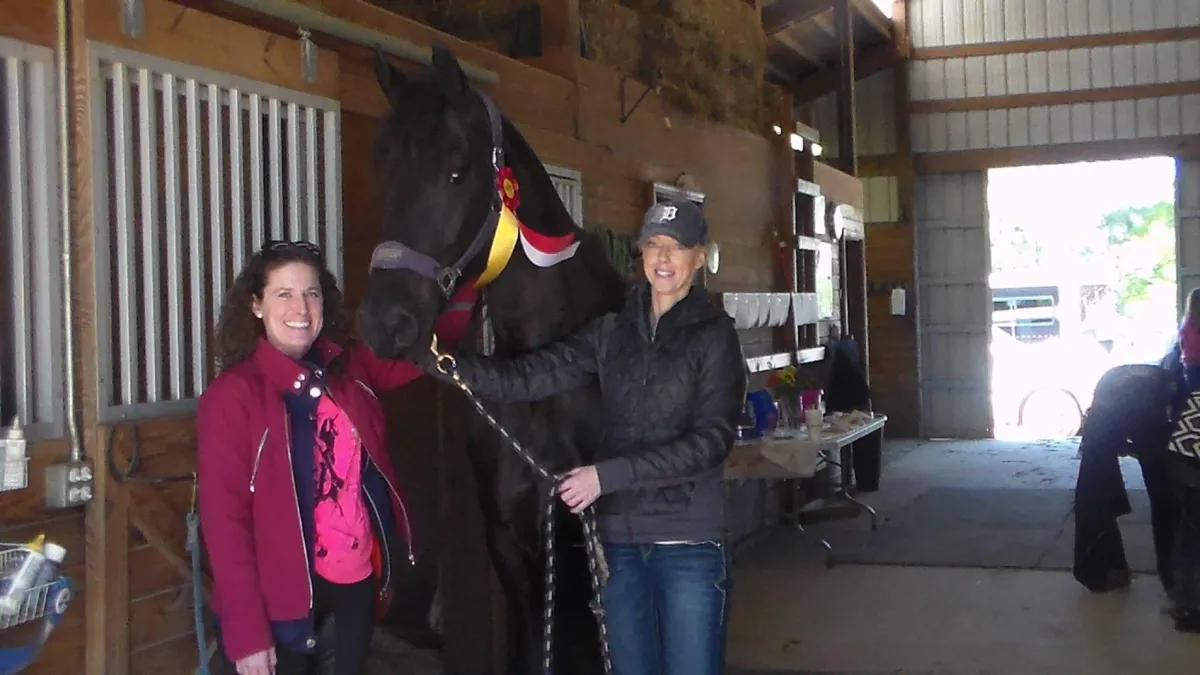
About Revelation Farm
Welcome to Revelation Farm, where passion for equestrian excellence meets the beauty of riding. Established with a commitment to fostering a love for horses and providing top-notch equestrian services, Revelation Farm is more than just a stable – it's a community of riders, trainers, and equine enthusiasts.
Talk To Us!
Get in Touch So We Can Chat!
Looking for information on Revelation Farm or on horses, in general? Whether you have questions or are eager to book your first lesson, we're here to help. Contact us so we can help.
I agree to terms & conditions provided by the company. By providing my phone number, I agree to receive text messages from the business.